NAPCO Refinisher
How to Refinish a Bathtub

Bathtub refinishing is the process of making an old tub look new again. When a bathtub is properly refinished by a professional refinisher with the right tools, the result will be a tub with a durable, like-new finish.
A bathtub reglazing project will go a lot smoother with the support of a professional company like NAPCO. We offer tools, supplies, and training so that professional refinishers have the experience necessary to get the job done right the first time.
 What’s the Difference Between Reglazing and Refinishing a Bathtub?
“Reglazing” refers to the application of protective coating, while “refinishing” describes the whole process from start to finish. Another term you might come across is “resurfacing.”
However, the terms “reglazing” and “refinishing” are often used interchangeably to refer to the same process.
What Tools and Supplies Do You Need to Refinish a Bathtub?
 The supplies and tools you need to refinish a bathtub depend on the job and work site, but we recommend a few items for every project:
- Bathtub cleaner and scrub brush
- Epoxy putty stick (for repairing damage)
- Sander with sandpaper, steel wool, or sanding block
- Paint brushes or an air brush system
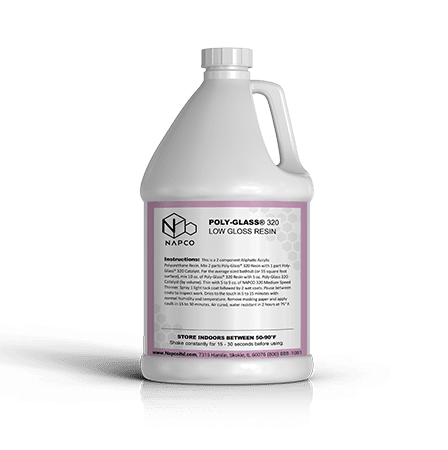
High-quality refinishing supplies, like our Poly-Glass 320 product line, ensure your reglazing project will result in a high-quality finish. This product line has a low volatile organic compound (VOC) rating, making it eco-friendly and safer for the natural environment. These products are also easy to use, resistant to impact, and dry quickly.
Other than refinishing supplies, you also need gear that will help you protect yourself. Personal protection equipment is essential to the wellbeing of any bathtub refinisher.
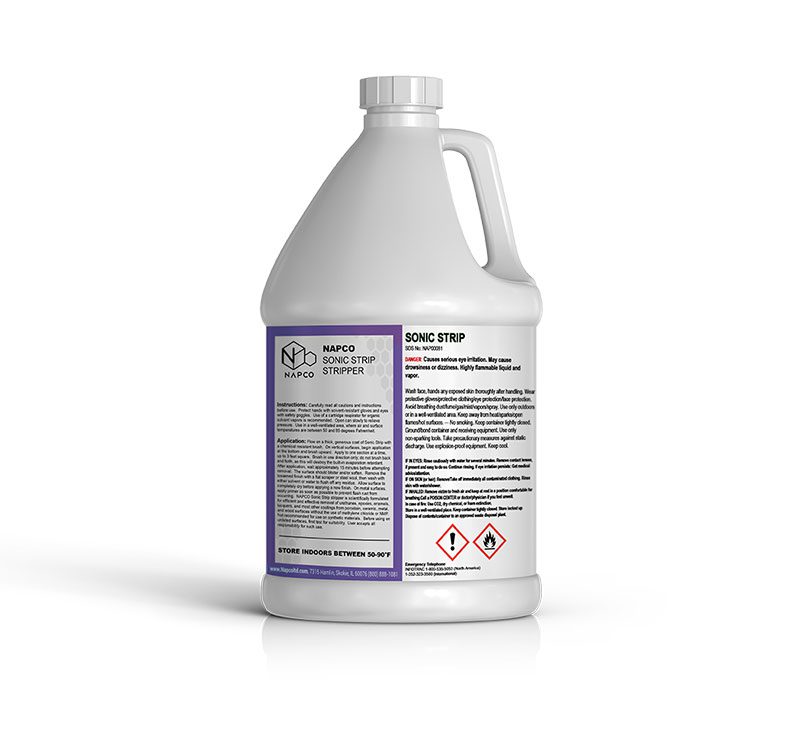 Chemicals are used throughout the bathtub refinishing process, and some of them are quite strong, with the potential for serious health side effects. For example, methylene chloride is a chemical frequently used in strippers that can cause serious headaches, dizziness, eye, nose, and throat irritation. In high concentrations, exposure to methylene chloride can even be fatal. (We also offer a methylene chloride-free stripper.)
Paper or cartridge masks are not sufficient to protect you. A fresh air breathing system and a professional exhaust system are recommended by professionals. Other recommended tools include gloves and protective eyewear.
How to Refinish a Tub
Whether you are working with an experienced refinishing professional or attempting a home project, the bathtub reglazing process is essentially the same. Follow these steps to refinish your bathtub or find a professional refinisher in your area to do this work for you.

Step 1: Prepare Work Site
The first step in resurfacing a bathtub is site preparation.
The surrounding walls, floors, sink, toilet, door, and windows need to be protected. Hang plastic drop cloths to protect the work site, and be sure to use painter’s tape or a similar product to keep the drop cloths closed while you are working.

Step 2: Repair Damage
The second step is to repair damage. Your tub may be chipped, pitted, cracked, rusted, or even burned.
Chips can be filled in with special epoxy putty, and cracks are fixed with an inlay. Rust needs to be cleaned out of the tub, and burns should be sanded down and then filled in.
After repairing any damage, thoroughly clean the bathtub to remove any dust, stains, or residue from the repairing supplies.
You may also have to sand repaired spots down to ensure they blend seamlessly into the rest of the tub.

Step 3: Etch Surface
The third step is to etch the surface of the tub.
Tubs made from porcelain, enamel, or fiberglass are nonporous, which the new coating will have difficulty attaching to. Preparing the surface with acid etching or wet sanding makes it easier for coatings to adhere to the tub’s surface.
However, if the etching process is skipped or performed with subpar materials, the final coating won’t adhere correctly, and it may peel or fall off in the near future—requiring complete rework.
Professional refinishers have the knowledge, skills, and supplies needed to correctly etch the bathtub.

Step 4: Prime the Surface
The fourth step is to apply primer to the surface.
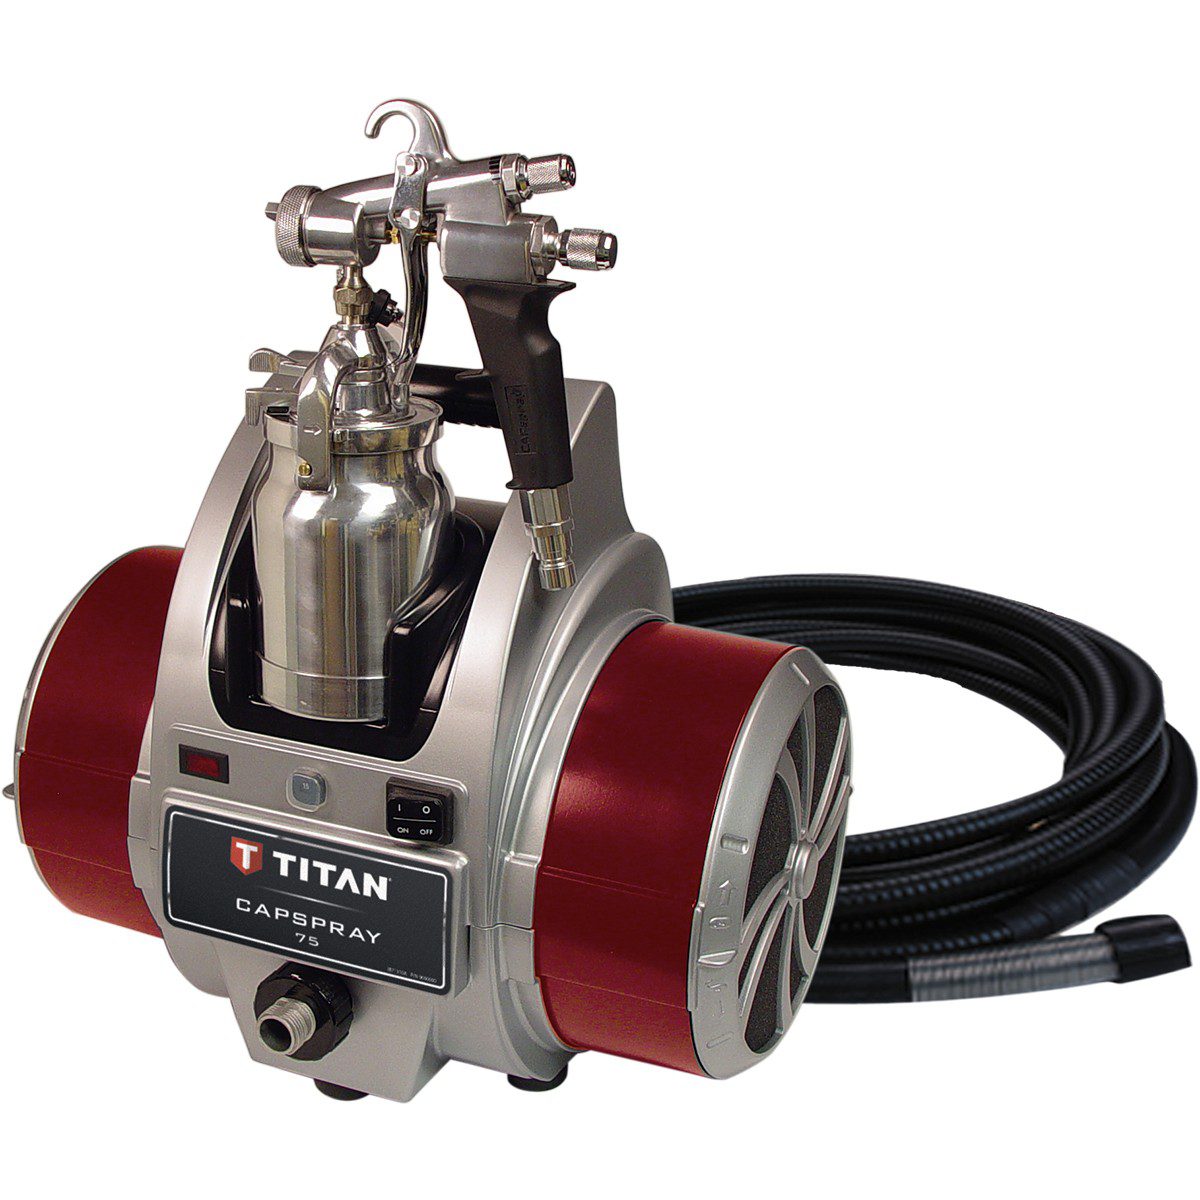
Primer can be applied with a paintbrush, but the final result will look like a paint job instead of a seamless, like-new bathtub glaze. Trained refinishing technicians will apply the primer with a professional-grade airbrush system. This equipment can cost between $750 and $2,000, but the price is well worth the result.
Step 5: Apply Final Coat
The final step is to apply a final coating. This coating can be white, bone, or a custom mixed color.
The coating is applied with the same air brush system as used during the priming step. Thanks to extensive training and experience, a professional refinisher will spray evenly, resulting in a drip-free and evenly coated surface.
If the bathtub is a dark color or has heavy stains, you may need to apply multiple coats. However, the product needs to fully dry between coats. A quick-drying, eco-friendly top coat product, like our Poly-Glass 320 Resin, only takes about eight minutes to dry.
Watch Our Video Tutorials to Learn More
For further instructions, check out our YouTube channel. You’ll see videos of refinishing professionals in-the-field as they refinish, reglaze, and resurface kitchens and bathrooms for various clients.
Order High-Quality and Eco-Friendly Refinishing Products at NAPCO
To order refinishing products, call 800.888.1081 or visit our website.