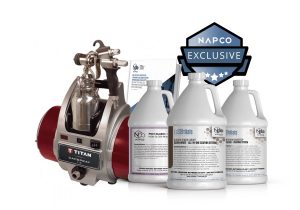
Equipment, Supplies, and Training for the Professional Refinisher
NAPCO Refinisher
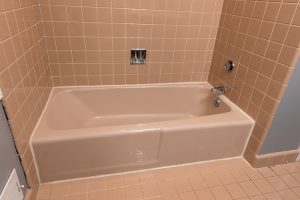
How to Repair a Cracked or Chipped Bathtub
The smallest crack, chip, or scratch in your bathtub can lead to leaks and water damage—on top of making your tub unusable. Replacing a broken bathtub can cost thousands of dollars and removing it may cause further damage to the surrounding tile and paint.
Fortunately, there is an alternative solution: repairing the tub.
Tub repair is an inexpensive option. Whether you are a professional refinisher looking for a way to fix a damaged bathtub or a DIY-er ready to make your tub usable again without investing thousands, repairing is an excellent option.
9 Steps to Repairing a Damaged Bathtub
Follow our step-by-step instructions to get started.
Step 1: Gather Your Supplies
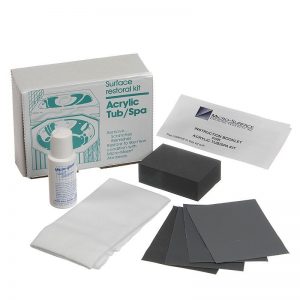
You’ll need several types of products to repair cracks, chips, scratches, and other types of surface damage for bathtubs. Grab your personal protective equipment (PPE), a filler (White Water Resistant or Longstrand Fiberglass), a tube of hardener (blue or white), a flat application tool (like a plastic putty knife or putty spreader), and a sandpaper repair kit to get started.
Pay close attention to color. Choose fillers and hardeners that match the color of your bathtub.

Step 2: Clean the Damaged Area
It’s important to clean the area around the crack. Use cups of water from the sink and a sponge or sandpaper to complete this task. Remove wax, soap scum, oil, and other contaminants from the tub’s surface.
Be sure to dry the area thoroughly before moving on.

Step 3: Put on Protective Gear
As with any refinishing or construction project, you need to wear protective gear. The bathtub repair process creates dust, and the materials used can give off toxic fumes.
Put on gloves, goggles or safety glasses, and a dust mask or cartridge respirator. Wear long sleeves and closed-toe shoes as well.
Step 4: Sand the Crack
Use sandpaper to sand the damaged area, both the crack or scratch in the tub itself and an approximately one-inch radius around the chip.
This sanding process helps remove any jagged edges or glass fibers that may be protruding from the crack.
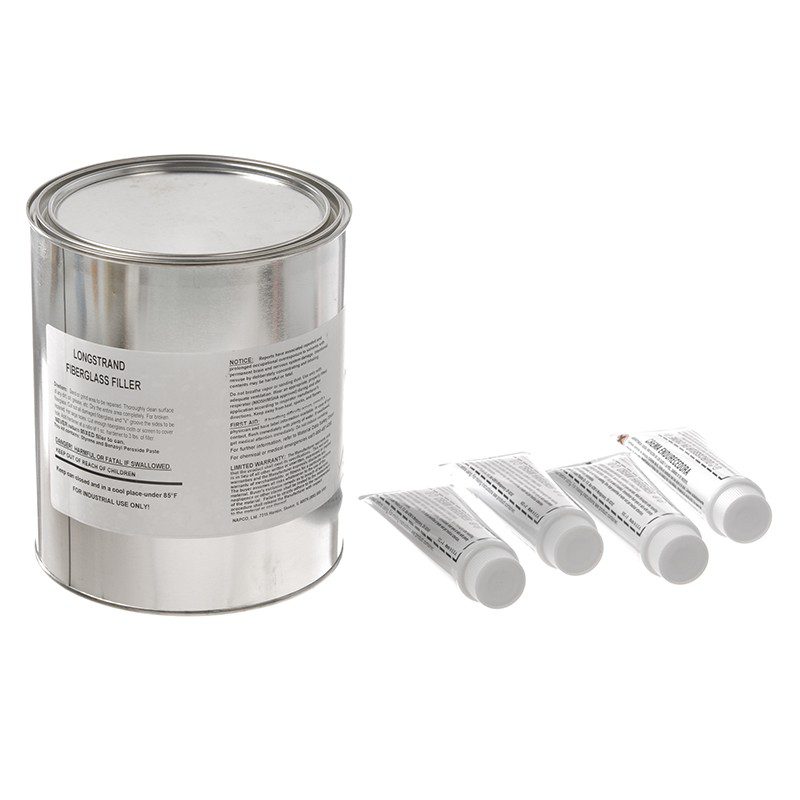
Step 5: Mix the Filler and Hardener
Following the instructions on the product labels, mix the filler and hardener until you reach the desired consistency, taking temperature into account.
Mix the two materials thoroughly to ensure homogeneity. The longer you stir the mixture, the better the end result will be. However, once the mixture is homogenous itwill begin hardening, so don’t delay.
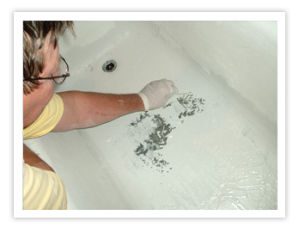
Step 6: Apply the Mixture to the Damaged Area
Using the flat application tool, apply the filler and hardener mixture to the crack, chip, or scratch. Work it into the damaged area, getting into all the crevices. Keep filling the crack until it is at a level slightly higher than the surface of the tub; you will sand it down later after it fully cures.
Step 7: Wait for the Material to Harden
After the mixture is applied, allow it to harden. It may take up to 30 minutes to fully harden.
Step 8: Sand the Surface
When the filler is dry and hardened, carefully sand the repaired area to eliminate unevenness on the surface of the tub. This process is important in order to ensure a smooth finish.
Don’t hesitate to apply pressure while sanding but try not to scuff the surrounding area or oversand, otherwise you’ll have to mix and apply more filler.
Step 9: Paint and Buff the Repaired Area
You will need to paint the chip repair to match and blend in with the rest of the tub. The original NAPCO coating used to refinish the surface will work well here, but you may have to color match the spot repair if it’s the original surface or one you haven’t refinished before.
Repair, Refinish, or Refurbish Your Bathtub with NAPCO Products
At NAPCO, we offer a wide selection of high-quality kitchen and bath refinishing and repairing products. Whether you are a professional refinisher looking for materials or a DIY-er ready to tackle your next project, we can help.
Need assistance learning how to repair your bathtub? Contact us today. We can show you the right products to use or refer you to one of our experienced refinisher contacts to get the job done right.